Hands-On Fun: How to Make Custom Keychains with Kids and Students
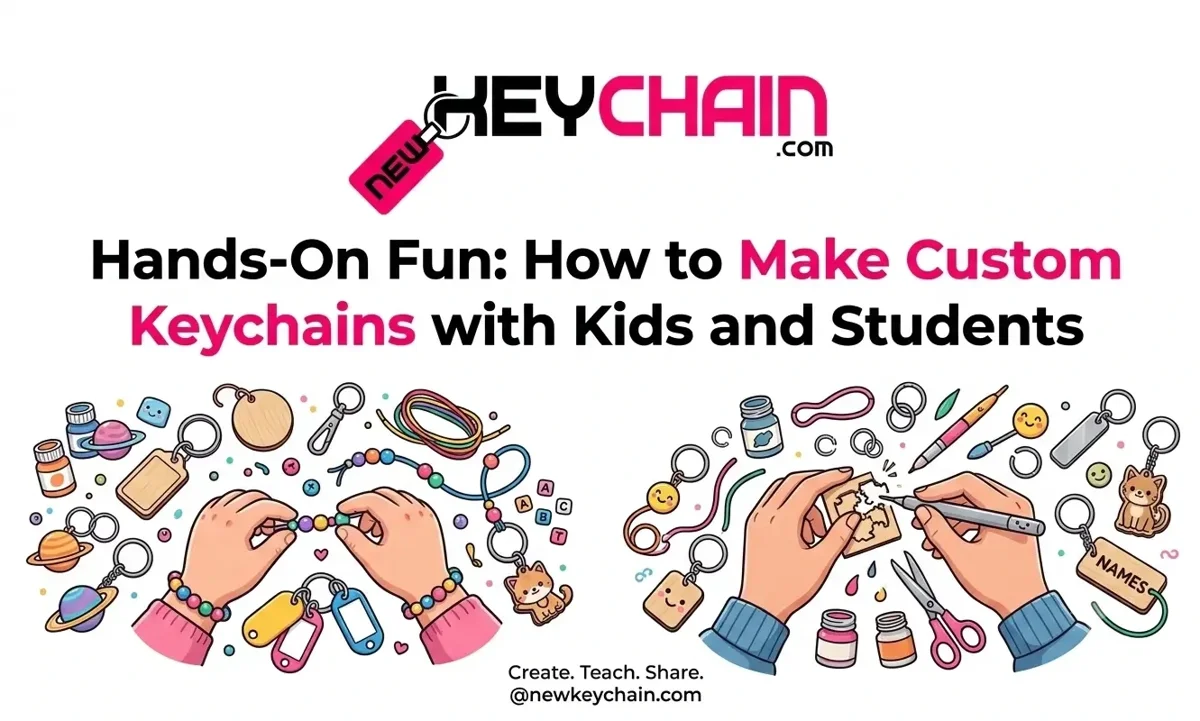
Whether you are looking for a rainy-day home activity or a classroom project that combines creativity with fine motor skills, custom keychains are a hit across all age groups. Kids love creating something useful that they can clip onto their school backpacks, lunchboxes, or gift to family members.
Here is a guide to three easy, kid-friendly keychain projects—ranging from quick beaded designs to classic shrink-art charms.
1. The Classic Beaded Name & Pattern Keychain
This project is ideal for younger children (ages 4+) learning pattern recognition, spelling, and fine-motor coordination.
Materials Needed
-
Pony beads or wooden beads
-
Alphabet beads
-
Sturdy cord, ribbon, or lanyard string
-
Keychain rings or clip hooks
-
Scissors
1.Prep the String:Measure for optimal dangling length.
Cut a piece of cord about 8 to 10 inches long. Fold it in half and loop it through the key ring using a simple lark's head knot to secure it in place.
2.Plan the Design:
Have kids lay out their pattern on the table first. They can spell their name, favorite team, or create a repeating color sequence.
3.Thread the Beads:
Slide the beads onto both strands (or a single strand if using smaller bead holes). Leave about 1.5 inches of cord at the bottom.
4.Secure the Ends:
Tie a double knot beneath the final bead. For extra security, add a tiny dab of craft glue to the knot before trimming any excess string.
2. Shrink-Plastic Art Charms
Shrink-art (often known by the brand name Shrinky Dinks) feels like magic to kids. It turns hand-drawn artwork into durable, hard plastic keychains.
Materials Needed
-
Clear or printable shrink-plastic sheets
-
Colored pencils or permanent markers
-
Single-hole punch
-
Key rings with jump rings
-
Oven or toaster oven (adult supervision required)
Steps to Create
-
Draw and Color: Let kids draw their designs on the rough side of the shrink plastic sheet using colored pencils or permanent markers.
-
Cut Out the Shape: Cut around the design, keeping edges smooth (sharp corners become sharp plastic edges after baking).
-
Punch the Hole: Crucial Step: Punch a hole near the top before baking. Once cooked, you won't be able to punch through it!
-
Bake: Lay the pieces on parchment paper on a baking sheet. Bake according to package directions (usually around 325°F / 165°C for 2–3 minutes). Watch them curl up and flatten out.
-
Attach Hardware: Once cool, attach a jump ring through the hole and fasten it to a key ring.
3. Braided Paracord Backpack Clips
Best for middle school students or older kids (ages 9+), paracord braiding teaches knot-tying and creates ultra-durable keychains.
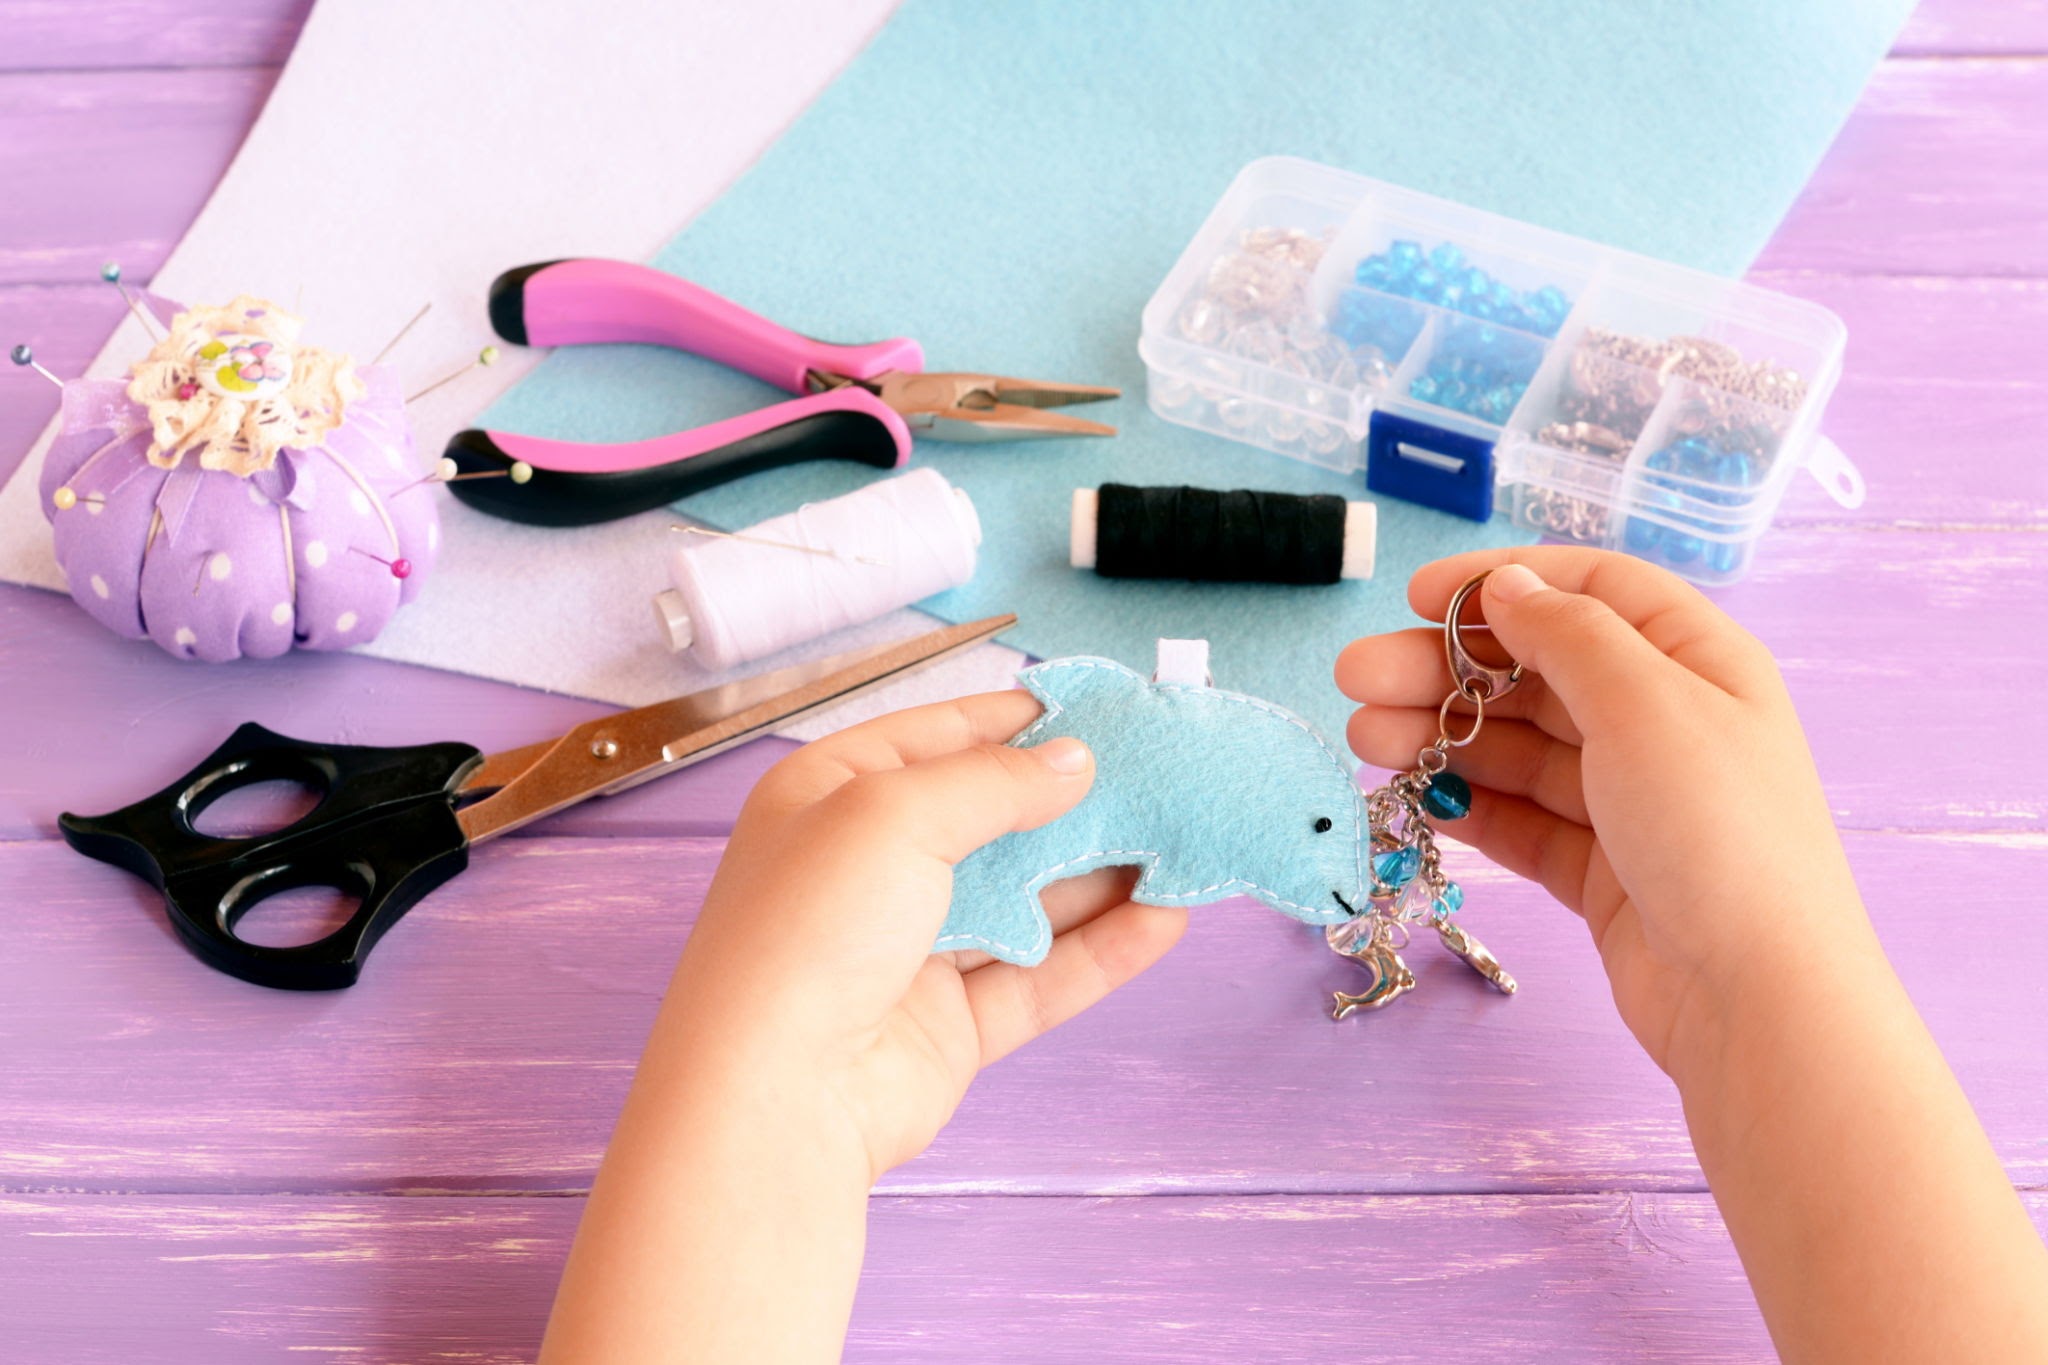
Steps to Create
-
Choose Colors: Pick 1 or 2 strands of 550 paracord (about 2.5 feet total length).
-
Attach to Clip: Fold the cord in half and attach it to a swivel carabiner or key ring.
-
Cobra Knot: Use the classic "Cobra Stitch" knot—alternating left and right loops down the center core strands.
-
Finish: Trim the excess paracord and ask an adult to melt/singe the cut ends with a lighter to prevent fraying.
Classroom & Group Craft Tips
For Teachers: If you're running this as a class activity, organize materials into individual trays or muffin tins per table. This keeps beads from rolling off desks and minimizes prep time.
-
Set Up a Station System: If baking shrink plastic, have one designated adult-operated "baking station" away from student work areas.
-
Color Code Hardware: Let students choose different key ring finishes (silver, gold, rainbow) to make their creations unique.
-
Incorporate Learning: Use bead patterns for math lessons or ask students to research a historic symbol to turn into a shrink-art key tag.






Thank you for posting your blog comment. It will be reviewed and set live soon. If you provided your email then you will be notified of replies to this comment.